An Automated External Defibrillator (AED) might sit idle for years without being used; however, it must always be ready to function. Like any piece of safety equipment, such as a fire extinguisher or smoke detector, an AED must be inspected regularly and maintained. The good news is AEDs are easy to inspect and maintain.
- Inspect your AEDs on a regular basis according to the manufacturer’s recommended schedule, which normally is once a month.
- Identify a staff member such as the school nurse or other trained responder to be responsible for inspecting and maintaining the equipment.
- Check the battery expiration or service date and make sure the battery status indicator light – usually green – is working properly and indicating that the defibrillator is ‘Rescue Ready’. A status indicator or readiness display will show an alert when a problem is found. Make it a habit every time you walk by the AED.
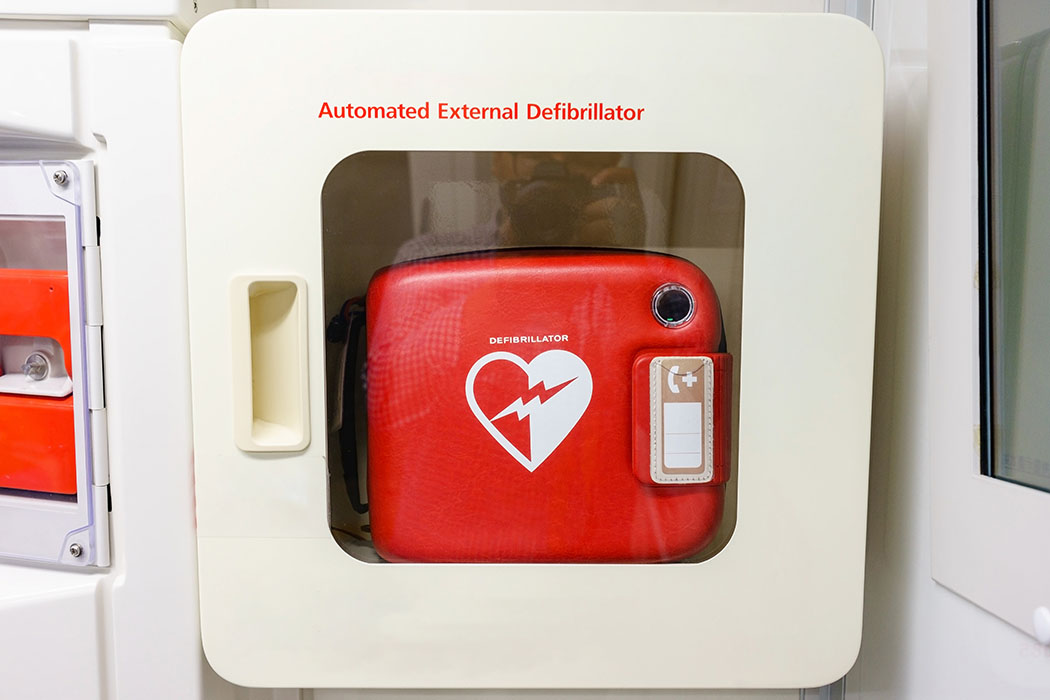
- Visually examine the AED Case, battery compartment, and its accessories. Check for cracks, foreign substances, and damages. Ensure that the defibrillator is in its proper physical location.
- Inspect the AED pads, called electrodes. The pads should be in an unopened sealed package and within its expiry or service date. Always replace expired or damaged pads.
- Inspect the AED action pouch, if included, for missing supplies. Units often include a small emergency supply kit including a CPR ventilation mask, protective rubber gloves, a razor, towelette, and small scissors.
- Use a written or electronic inspection checklist for documentation purposes. Document the date of the inspection, the results of the inspection, and any maintenance action taken (e.g., battery or electrode replacement or software updates).
Following these guidelines will help you ensure that your defibrillator is operational and ready to use if a cardiac emergency arises.


 ESD 112 equalizes educational opportunities for learning communities through innovative partnerships, responsive leadership, and exceptional programs.